

Resize Video for Instagram Without Cropping: A Practical Guide
The Klipa editorial team · tested on September 29, 2026 You already have the footage; the challenge is fitting it to Instagram without cutting off the subject or…
To resize a video for Instagram, decide where it will appear, then let Klipa reshape the frame. This page opens on 9:16, the tall vertical shape of Reels and Stories, and one tap moves you to 4:5 or 1:1 for feed posts. Your source can be horizontal, vertical or square, and the leftover space is never filled with black bars.
A Reel or a Story fills a phone screen from top to bottom, so it wants a tall frame. A feed post is a different case, and the vertical 4:5 and the square 1:1 are the two shapes Klipa offers for it. If you upload a widescreen clip as it is, the app has to squeeze it into a frame it was not made for, and what you get may not be what you pictured. Resizing first puts that choice back in your hands, and the preview shows how the result will look before you export.
Two modes answer the question people ask most: how to fit a video to Instagram without cropping. Fit leaves every pixel of your video on screen and fills the sides, or the top and bottom, with a softly blurred copy of your own footage. No edge is lost and the proportions stay true. Fill covers the entire frame with no band at all: the surplus edges are trimmed, and the AI tracks whoever or whatever matters most, so the crop lands on the action. Klipa proposes one of them after looking at your video, and the choice stays yours. A third mode, Stretch, squeezes or pulls the picture to the exact format, which rarely suits a person on screen.
Posting a square? Pick 1:1 and keep Fit to see your whole scene inside it. Does the same video need to go out as a Reel and as a post? Prepare one version per shape: the page produces each of them from the same file.
Resizing changes the frame, not the quality of the source. A small, soft clip stays small and soft in a bigger frame, because no detail is added. It does not set out to make a heavy file lighter either: if your video is too big to upload, compress it instead. And if you want a landscape video to become a vertical one that follows the speaker on its own, Video to Shorts is built for that. Here you choose the format, and you decide whether anything gets cropped.

Add a clip from your phone or your computer. MP4, MOV, AVI, MKV and WebM are accepted, up to 2 GB. Horizontal, vertical or square footage all make a fine starting point.
The page opens on 9:16 for Reels and Stories. Switch to 4:5 or 1:1 for a feed post. Klipa suggests Fit or Fill after looking at your footage, and you can swap before exporting.
Look over the frame in the preview, then export an MP4 in the shape you picked, ready to be uploaded to Instagram from your phone or your computer.
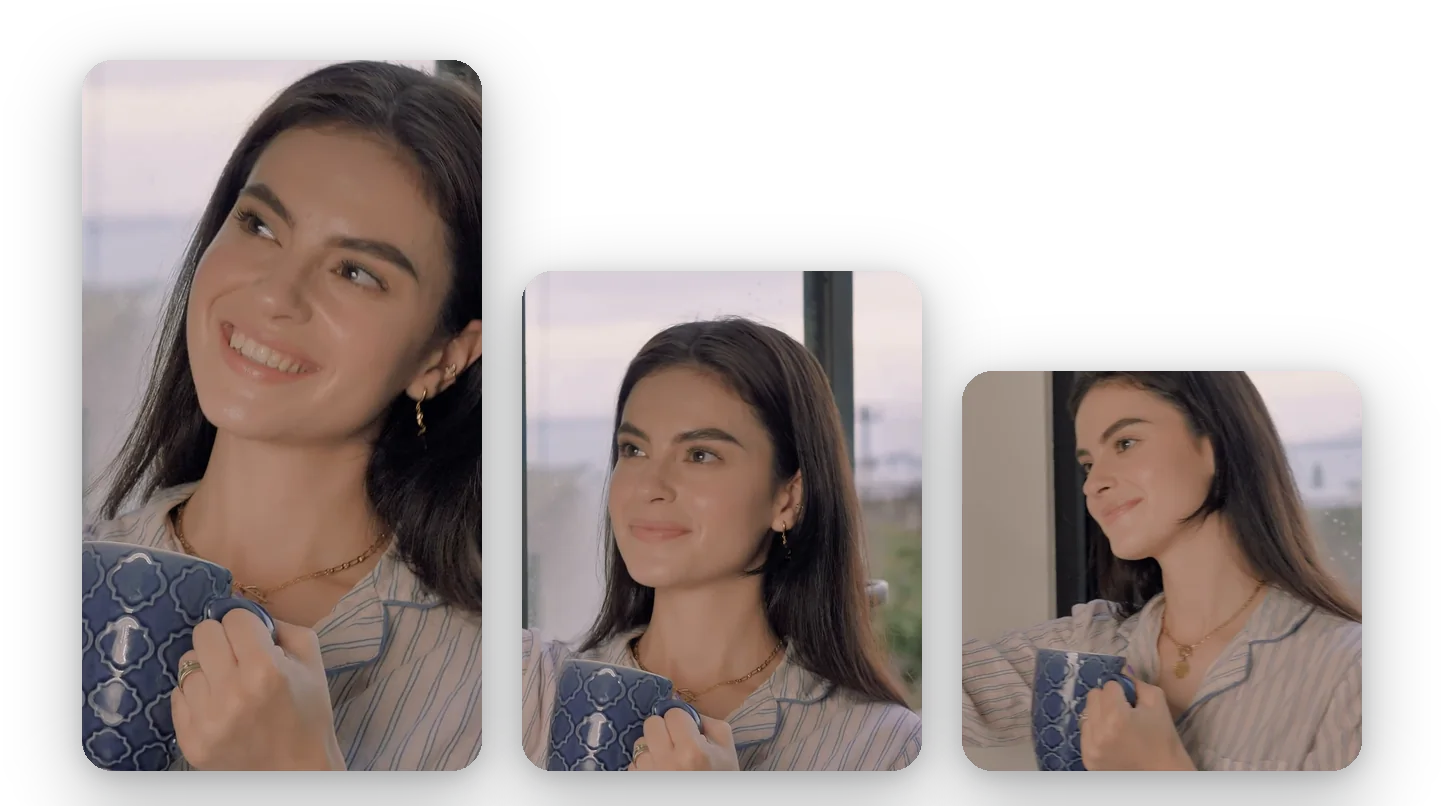
Reels and Stories on one side, feed posts on the other: the page lists 9:16, 4:5 and 1:1 together, so you can prepare a version for each placement without reopening your editing software, redoing your montage or starting from scratch every time.
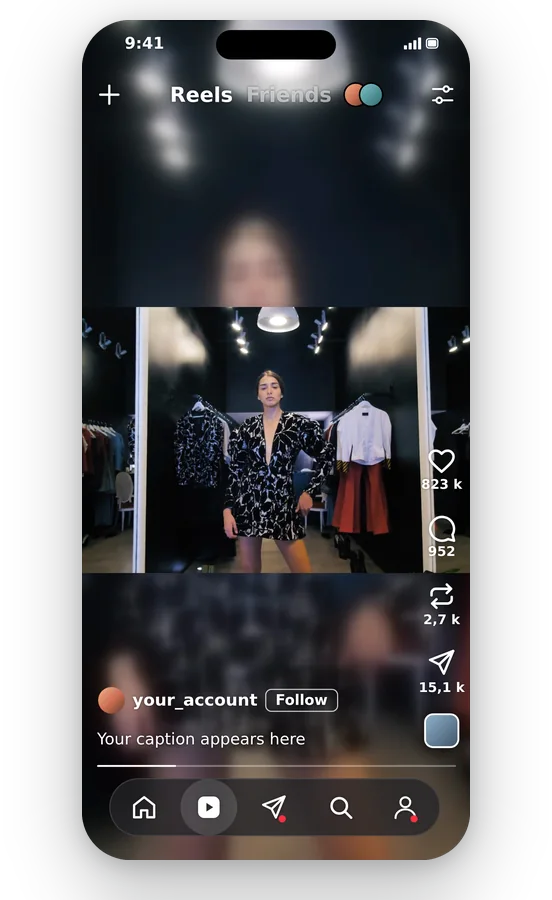
Fit leaves every pixel of your video on screen and fills the extra space with a softly blurred version of the footage itself. You settle the cropping question once, in a single click, and there are no black bars to hide afterwards.
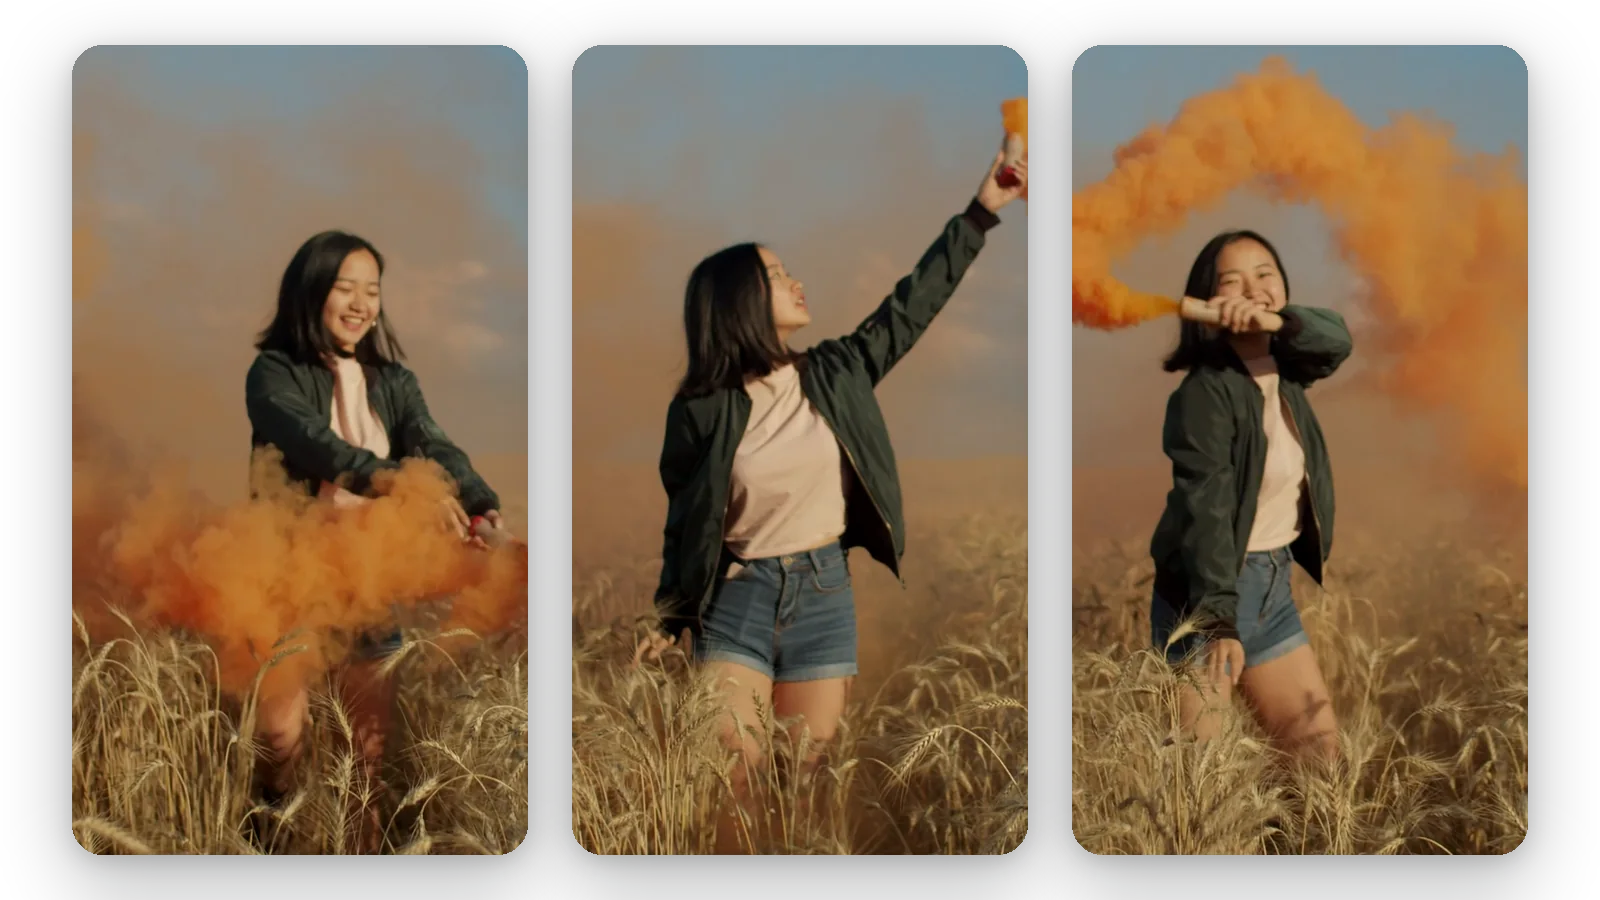
Choose Fill to cover the whole screen and the AI follows the main subject, keeping it near the middle. A face, a product or a dish stays visible while only the surplus edges disappear from the frame, which is exactly what you want on a small phone screen.
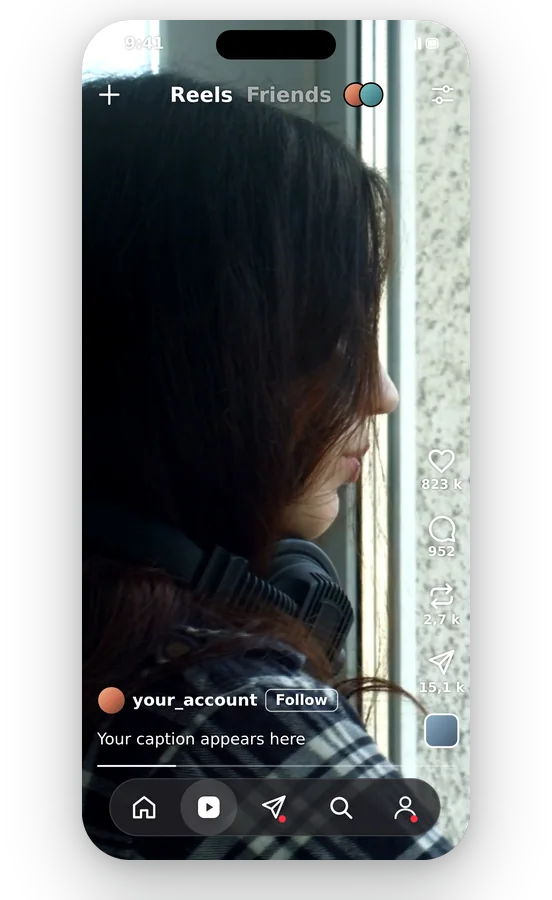
Upload, preview, download: all of it happens in your browser, on a phone or a computer, with nothing to install. What you get back is a plain MP4 that any phone, computer or editing app will open.
A clip shot sideways on a camera or a computer does not fill a vertical screen. Pick 9:16 and choose between the whole picture on a blurred background and a subject-tracked crop.
A tutorial, an event or a trip recorded in widescreen can become a Story. The 9:16 frame is already selected when the page opens, so you only pick the way to fill it.
Switch to 1:1 and keep Fit to see a whole scene inside a square, with the blur doing the work of the missing space. A clean way to reuse a clip you already posted elsewhere.
If a vertical video looked cropped or zoomed when posted, resize it to 4:5 beforehand and check the preview. You decide what stays inside the frame instead of finding out afterwards.
A shop, a studio or a creator often needs the same video as a Reel, a Story and a post. Export it once per shape, using the same file and the same page, then publish each version where it belongs.
Upload your video, keep the 9:16 frame for a Reel or a Story, or switch to 4:5 or 1:1 for a post. Then pick Fit or Fill, glance at the preview and save the MP4. The whole thing runs in your browser, with nothing to install.
This page puts the tall 9:16 first, then 4:5 and the square 1:1, because those are the shapes it builds around for Instagram. 4:3 and 16:9 are not in the list: a clip shot in either shape is brought into one of those three frames, with Fit to keep everything or Fill to cover the screen. For the current rules, read Instagram's own help.
Klipa's starting point for Reels and Stories is 9:16, and it offers 4:5 and 1:1 for feed posts. Instagram can change what it accepts, so check its help center for the current specifications, then pick the matching shape here. The preview shows the frame before you export.
Choose Fit. Your whole video stays visible, and the space around it is filled with a blurred copy of your own footage, so no edge is cut and nothing is distorted. Fill, by contrast, crops the edges on purpose to cover the whole frame.
Select 1:1, then pick Fit to keep the complete scene with a blurred background, or Fill to cover the whole square with a subject-tracked crop. Klipa proposes one of the two after looking at your footage; flip between them and the preview redraws the square.
Usually because its shape differs from the frame it is shown in, so part of it gets cut or enlarged. Resize it first to the format you will use, such as 4:5, and check the preview. That way the framing is your decision, not a surprise after publishing.
Resizing changes the frame and may lighten a file along the way, but it never aims at a particular weight. If your trouble is a clip that is too heavy to upload, use the video compressor: it brings the weight down while the resolution stays put. Resize when the shape is wrong, compress when the weight is.
No. A bigger frame cannot bring back detail that was never filmed: going past the source resolution only stretches the pixels that already exist. For a sharper result, film or export the original at a higher quality in the first place.
Yes: the resized video carries the Klipa logo. To download it clean, with no logo, get a Pass for that video or a Pro plan. You can still try the page and check the result in the preview before deciding.
Video to Shorts is the tool that goes vertical on its own, tracking the speaker or the subject. This page is for when you want to steer: you name the Instagram format, then choose between the full picture over a blurred backdrop and a crop. Reach for the one that matches the job.

The Klipa editorial team · tested on September 29, 2026 You already have the footage; the challenge is fitting it to Instagram without cutting off the subject or…

Your 16:9 video looks perfect in the edit, but the moment you try to post it as a Reel, Instagram forces a vertical crop and your subject’s elbow keeps vanishing…

You’re about to upload a Reel that fills the screen perfectly, with every pixel sharp, no awkward crops, and a file size ready to post. Your video will look exactly…
Reels, Stories, 4:5 or square: one upload, the right frame, no black bars.
No credit card required
Instagram shows a Reel, a Story and a feed post differently, so it pays to prepare each one on its own. Pick the format, decide between keeping the whole picture and filling the frame, then export. If the file turns out too heavy, run it through the video compressor. If you would rather have a landscape video turned vertical with the subject followed automatically, try Video to Shorts. In every case, the preview shows you the frame before anything is downloaded, so you can adjust the mode and export again without surprises.
